
How to Set Up Lasso
How to configure Lasso on your website
Lasso is a tool for rapidly building a rich customer database through attractive and accessible incentives.
This widget lives in the corner of your website and helps you turn anonymous visitors into real customers while driving social engagement.
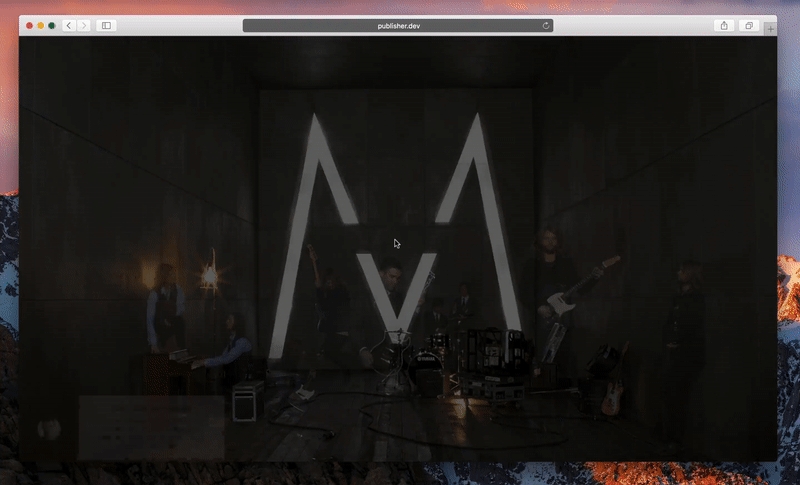
With Lasso, your site can start offering discounts, coupons, gifts, and any other forms of value in a beautiful yet resourceful way, achieving social engagement from the visitor.
Examples of Lasso Campaigns
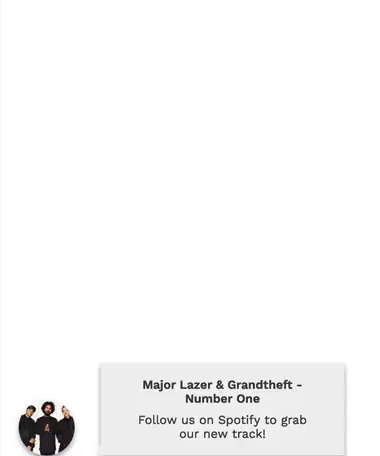
Signup Forms
A simple Facebook-driven signup form lets you constantly build your audience across your webpages. This not only helps you capture emails but obtain the information you need to tailor marketing messages to your audience.

Social Unlocks
A social unlock campaign is incredibly effective in incentivizing users to perform a key social action. By giving users a coupon, promotion, or downloadable piece of content, you’re able to drive social engagement while capturing emails and profile information.
Contests and Giveaways
A giveaway campaign is a powerful mechanism that not only converts visitors into registered fans but simultaneously boosts engagement across multiple social platforms.

Lasso comes with a number of built-in integrations for web platforms like Shopify and Wordpress. We give you a simple and intuitive interface to design the right campaign, manage your customer data, and use data to find new customers across Facebook and Instagram.
How to Configure Lasso
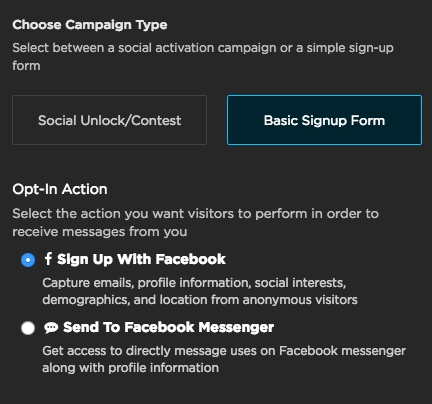
Step 1 - Choose Campaign Type
Choose campaign type by clicking "Social Unlock/Contest" or "Basic Signup Form."
If you choose "Social Unlock/Contest," select the campaign that you'd like to appear or click "Create New" to build a new campaign.
Step 2 - Choose Opt-In Action
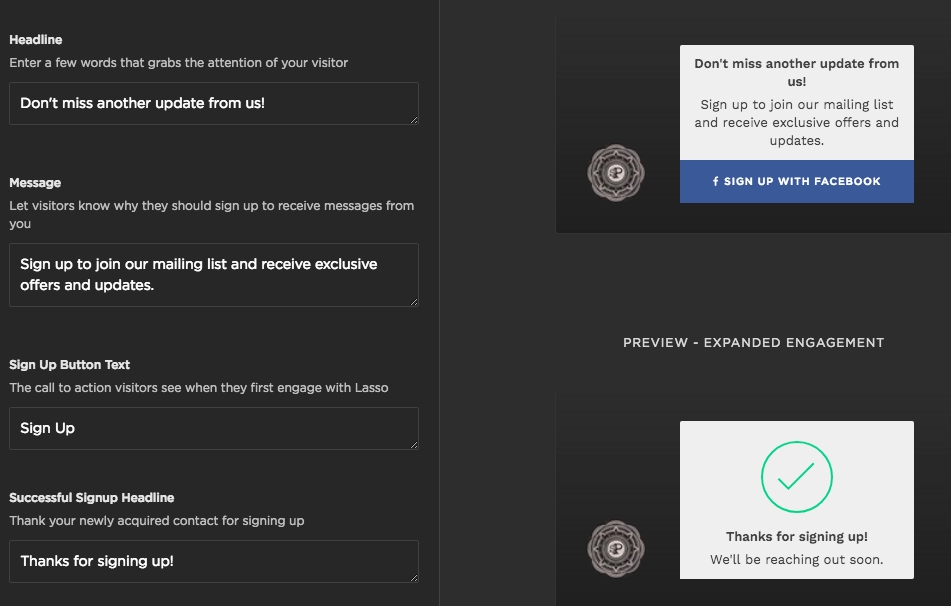
Step 3 - Customize Lasso
Edit the headline and messaging to reflect your brand's personality. Enter text in the fields on the left and preview your Lasso on the right.
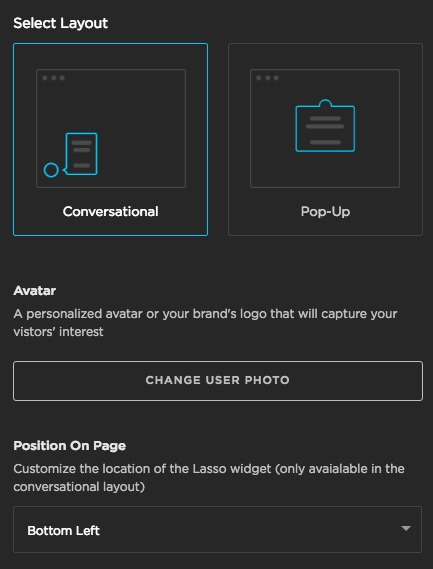
Step 4 - Visibility
Select your Lasso layout and position on your website.
If you'd like Lasso to run across your entire site, select "Always" under Show When. If you'd like Lasso to live on a specific page, click the drop-down menu and select "Specific URL is visited." Enter the URL where you'd like Lasso to appear.
You can review your Lasso with the previews on the lefthand side of the page. If you're satisfied, click Save Changes.
Step 5 - Tracking
We recommend adding a retargeting pixel to improve your marketing strategy.
A retargeting pixel (or "pixel" for short) is a piece of code generated by an advertising provider like Facebook that you can embed on any site to track visitors. When you put a pixel on a website, any visitor to that site gets tracked by the provider of the pixel. I.E. if you put a Facebook pixel on a website, Facebook knows who visited that website. Those visitors are stored on Facebook so later you can advertise to those visitors or people similar to them.
This section lets you embed retargeting pixels from Facebook, Twitter, and Google into your Lasso without having to edit any code. This is powerful—later, you can advertise to people who visited your site, or even generate an audience of people similar to your site's visitors and advertise to them!
You can find instructions on how to get your different pixel IDs here:
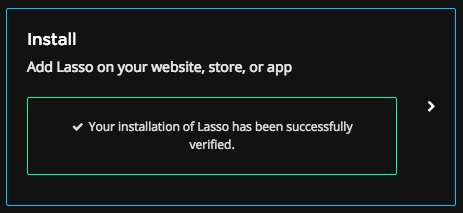
Step 6 - Install
Lasso comes with a number of built-in integrations for web platforms like Shopify and Wordpress.

Click Install for a step-by-step instruction on how to get Lasso live on your site. If you're having trouble installing Lasso, reach out to [email protected].
Lastly, click "Verify Installation" to ensure that your Lasso is up and running correctly.
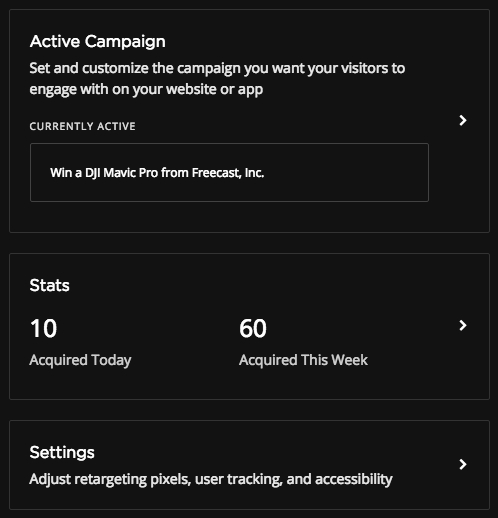
Once you have configured your Lasso, you can review its performance or edit it at any time. To do this, just select Lasso from your ToneDen dashboard.
Last updated
Was this helpful?