
Installing your Facebook Pixel
1. Create a Facebook pixel
Go to the Pixels tab in Events Manager.
Click Create a Pixel and click the green box that reads Create a Pixel.
(Optional) Click on the Settings tab on the pixel's page once it's created and enable Automatic Advanced Matching, this will allow you to you attribute more conversions to your Facebook ads and reach more people through remarketing campaigns.
2. Add the Facebook pixel to your website
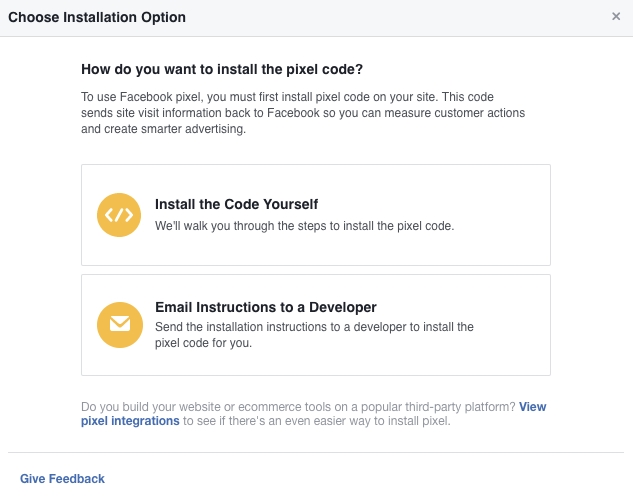
Once you've created your pixel, you're ready to put the Facebook pixel code on your website. Choose the statement below that best fits how you update your website's code for instructions:
Someone else makes changes to my website
If someone else updates the code in your website, then follow the steps below to email them instructions to set up the Facebook pixel on your site.
Go to the Pixels tab in Ads Manager.
Click Set Up Pixel.
Click Email Instructions to a Developer.
Enter the recipient’s email address. Click Send at the bottom of the page.
I update my website's code
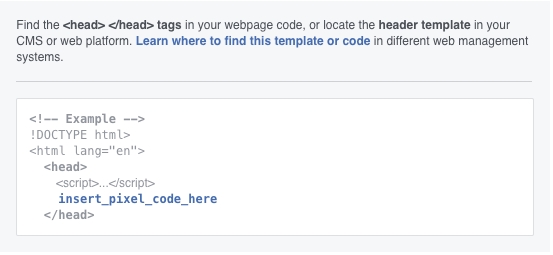
Locate the header code for your website.
Go to your website's code and find your website's header. Copy the entire code and paste it in the website header. Paste the code at the bottom of the header section just above the closing head tag.
Check that your code's working correctly: Click Send Test Traffic after placing the code on your website to make sure your pixel's working properly. If your status says "Active," your base code has been installed correctly. This can take several minutes to update.
My site is hosted on a popular website platform
Select your platform or tag manager from this list of partner integrations for an easier way to set up your pixel. If you don't see your platform there, then check out one of the other two ways of setting up your pixel above.

3. Track actions that matter to your business
After you've placed the pixel your website, add events to track specific actions people take on your website.
About events
Events are actions that happen on your website (i.e., someone makes a purchase). To track an event, you'll need to place a piece of code on your website to help Facebook understand that someone has taken an action.
Set up events on your website
Go to the Pixels tab in Events Manager.
Click Set Up Pixel.
Click Manually Install the Code Yourself.
Click Continue.
Click Install Events.
Click the toggle icon next to an event you'd like to track.
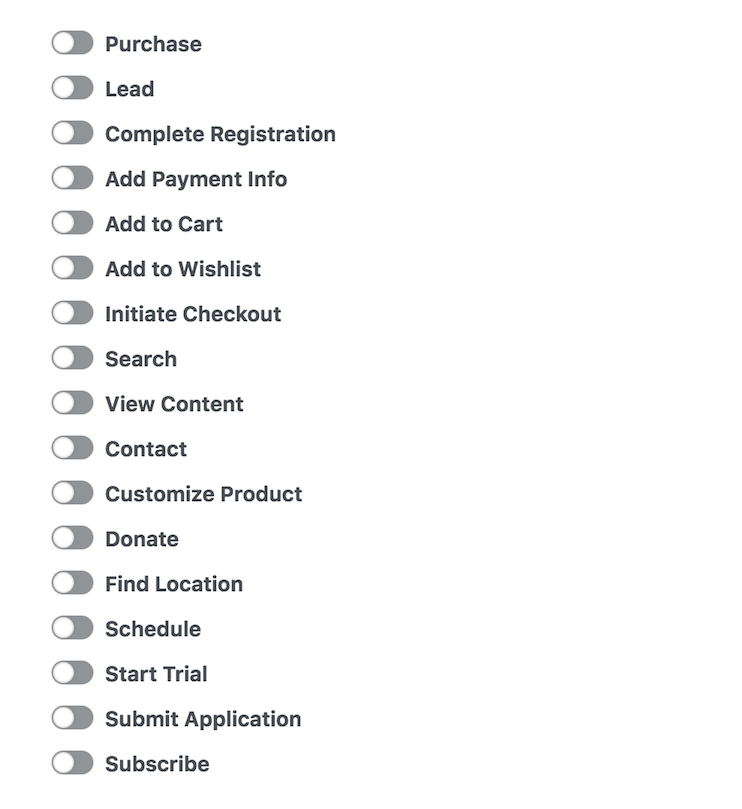
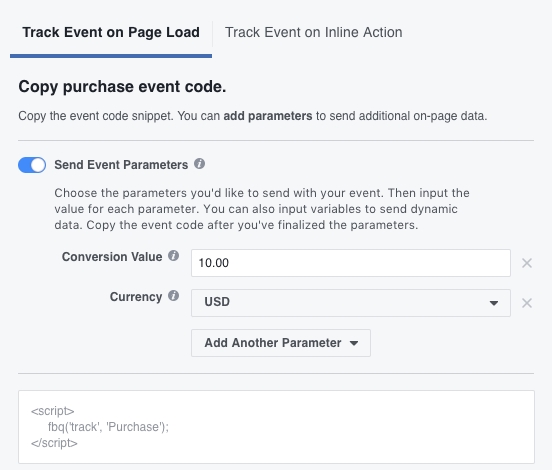
Track Event on Page Load: Choose this option if the action you're monitoring can be tracked when someone lands on a certain page, like a confirmation page after completing a purchase. Add event parameters, like Conversion Value or Currency, to measure additional information about your event (Recommended)
Copy this event code and paste it on the relevant page of your site. Be sure not to modify the pixel code you've already placed in the header of your website.
For page load events: Place the code just below the closing header section of the page (for many websites, this will be right after the opening tag).
4. Make sure your pixel's working correctly
The Facebook Pixel Helper is a troubleshooting tool that helps you find out if your pixel is working correctly. This Chrome plugin locates a Facebook pixel on a website, checks for errors, and understands the data that's coming from a pixel.
Install the Pixel Helper
Before getting started, you'll need to have the Chrome web browser. If you don't have it yet, install the Chrome browser then follow these steps:
Go to the Chrome web store and search for the Facebook Pixel Helper.
Click + Add to Chrome. Click Add extension.
Once you've successfully installed the extension, you'll see a notification that the plugin has been added to Chrome. A small icon will show in your address bar.
Check that your pixel's working
After you've installed the Pixel Helper, click the Pixel Helper icon in the address bar.
Check the popup to see any pixels found on that page and whether they've been set up successfully.
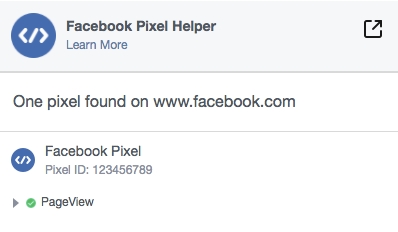
If the Pixel Helper finds a pixel on your site and there are no errors, then you're ready to start creating Facebook ads with your pixel.
Last updated
Was this helpful?